Creating the Model Class
The first step in creating our Zen MVC data entry form is to create the model class. The model can consolidate data from a variety of different sources. For example, the model can include data from all or part of several different Caché tables. In our case we use the data from a single data table — MVFILE.PERSON.
-
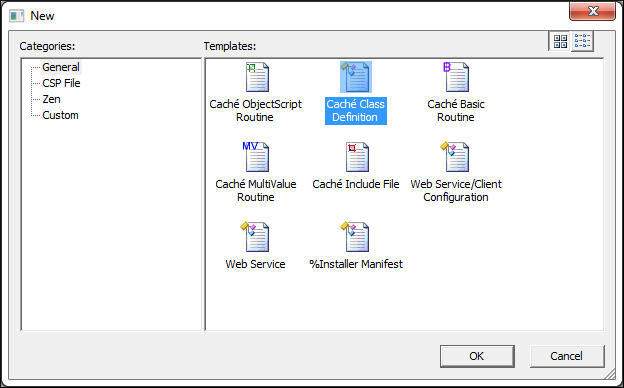
On the Studio Menu Bar click File–>New to launch the New dialog. Click the General tab.
-
Enter the following on the first screen of the New Class wizard:
-
Enter a package name: MVFILE
-
Enter a class name: PersonModel
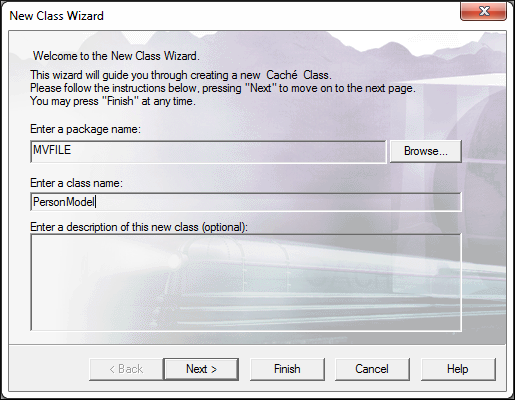
Click Next
-
-
On the Class Type screen, click the Extends button and then either select or enter %ZEN.DataModel.ObjectDataModelOpens in a new tab.
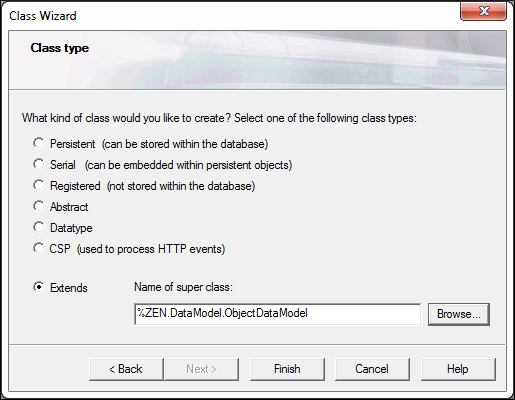
Click Finish.
-
Finally, we set the default language of the class to MVBasic. Do this by adding [Language = mvbasic] to the class declaration.
